Baby steps to a fully painted exterior
It’s been 2 years since we started the process of repairing siding and preparing the house for new paint and after many interruptions and pauses and snafus, we are finally in the home stretch. It all started when we decided to repair and replace the exterior siding on the bedroom wing of the house, which is where we found black mold and significant termite damage (in addition to the very visible and problematic dry rot).
The siding project sort of avalanched into a whirlwind of projects on the inside of the house in addition to replacing the exterior bathroom door and upgrading most of the operable windows in the house. We painted all the new siding black, then installed the new door and windows, then kind of moved on. Earlier this year, we decided to replace the siding out front, swapped and patch our light fixture, replaced our skinny front office window (WFH forced us to rip off the Band-Aid and just re-do the office completely) and completely tore apart the front yard and those awful bushes which lended ZERO curb appeal for weeks and weeks lol (sorry neighbors).
The timing of our front siding project lined up right around shelter in place became mandatory here in Contra Costa County and Paul wasn’t able to work, so he did an amazing job shifting all his energy to home improvement. He wound up focusing on the front by building a new fence (a DIY post for another day), hiring someone to level our yard, planting a couple trees and painting the whole front of the house (through so many difficulties with our paint gun…we’ve gone through 3).
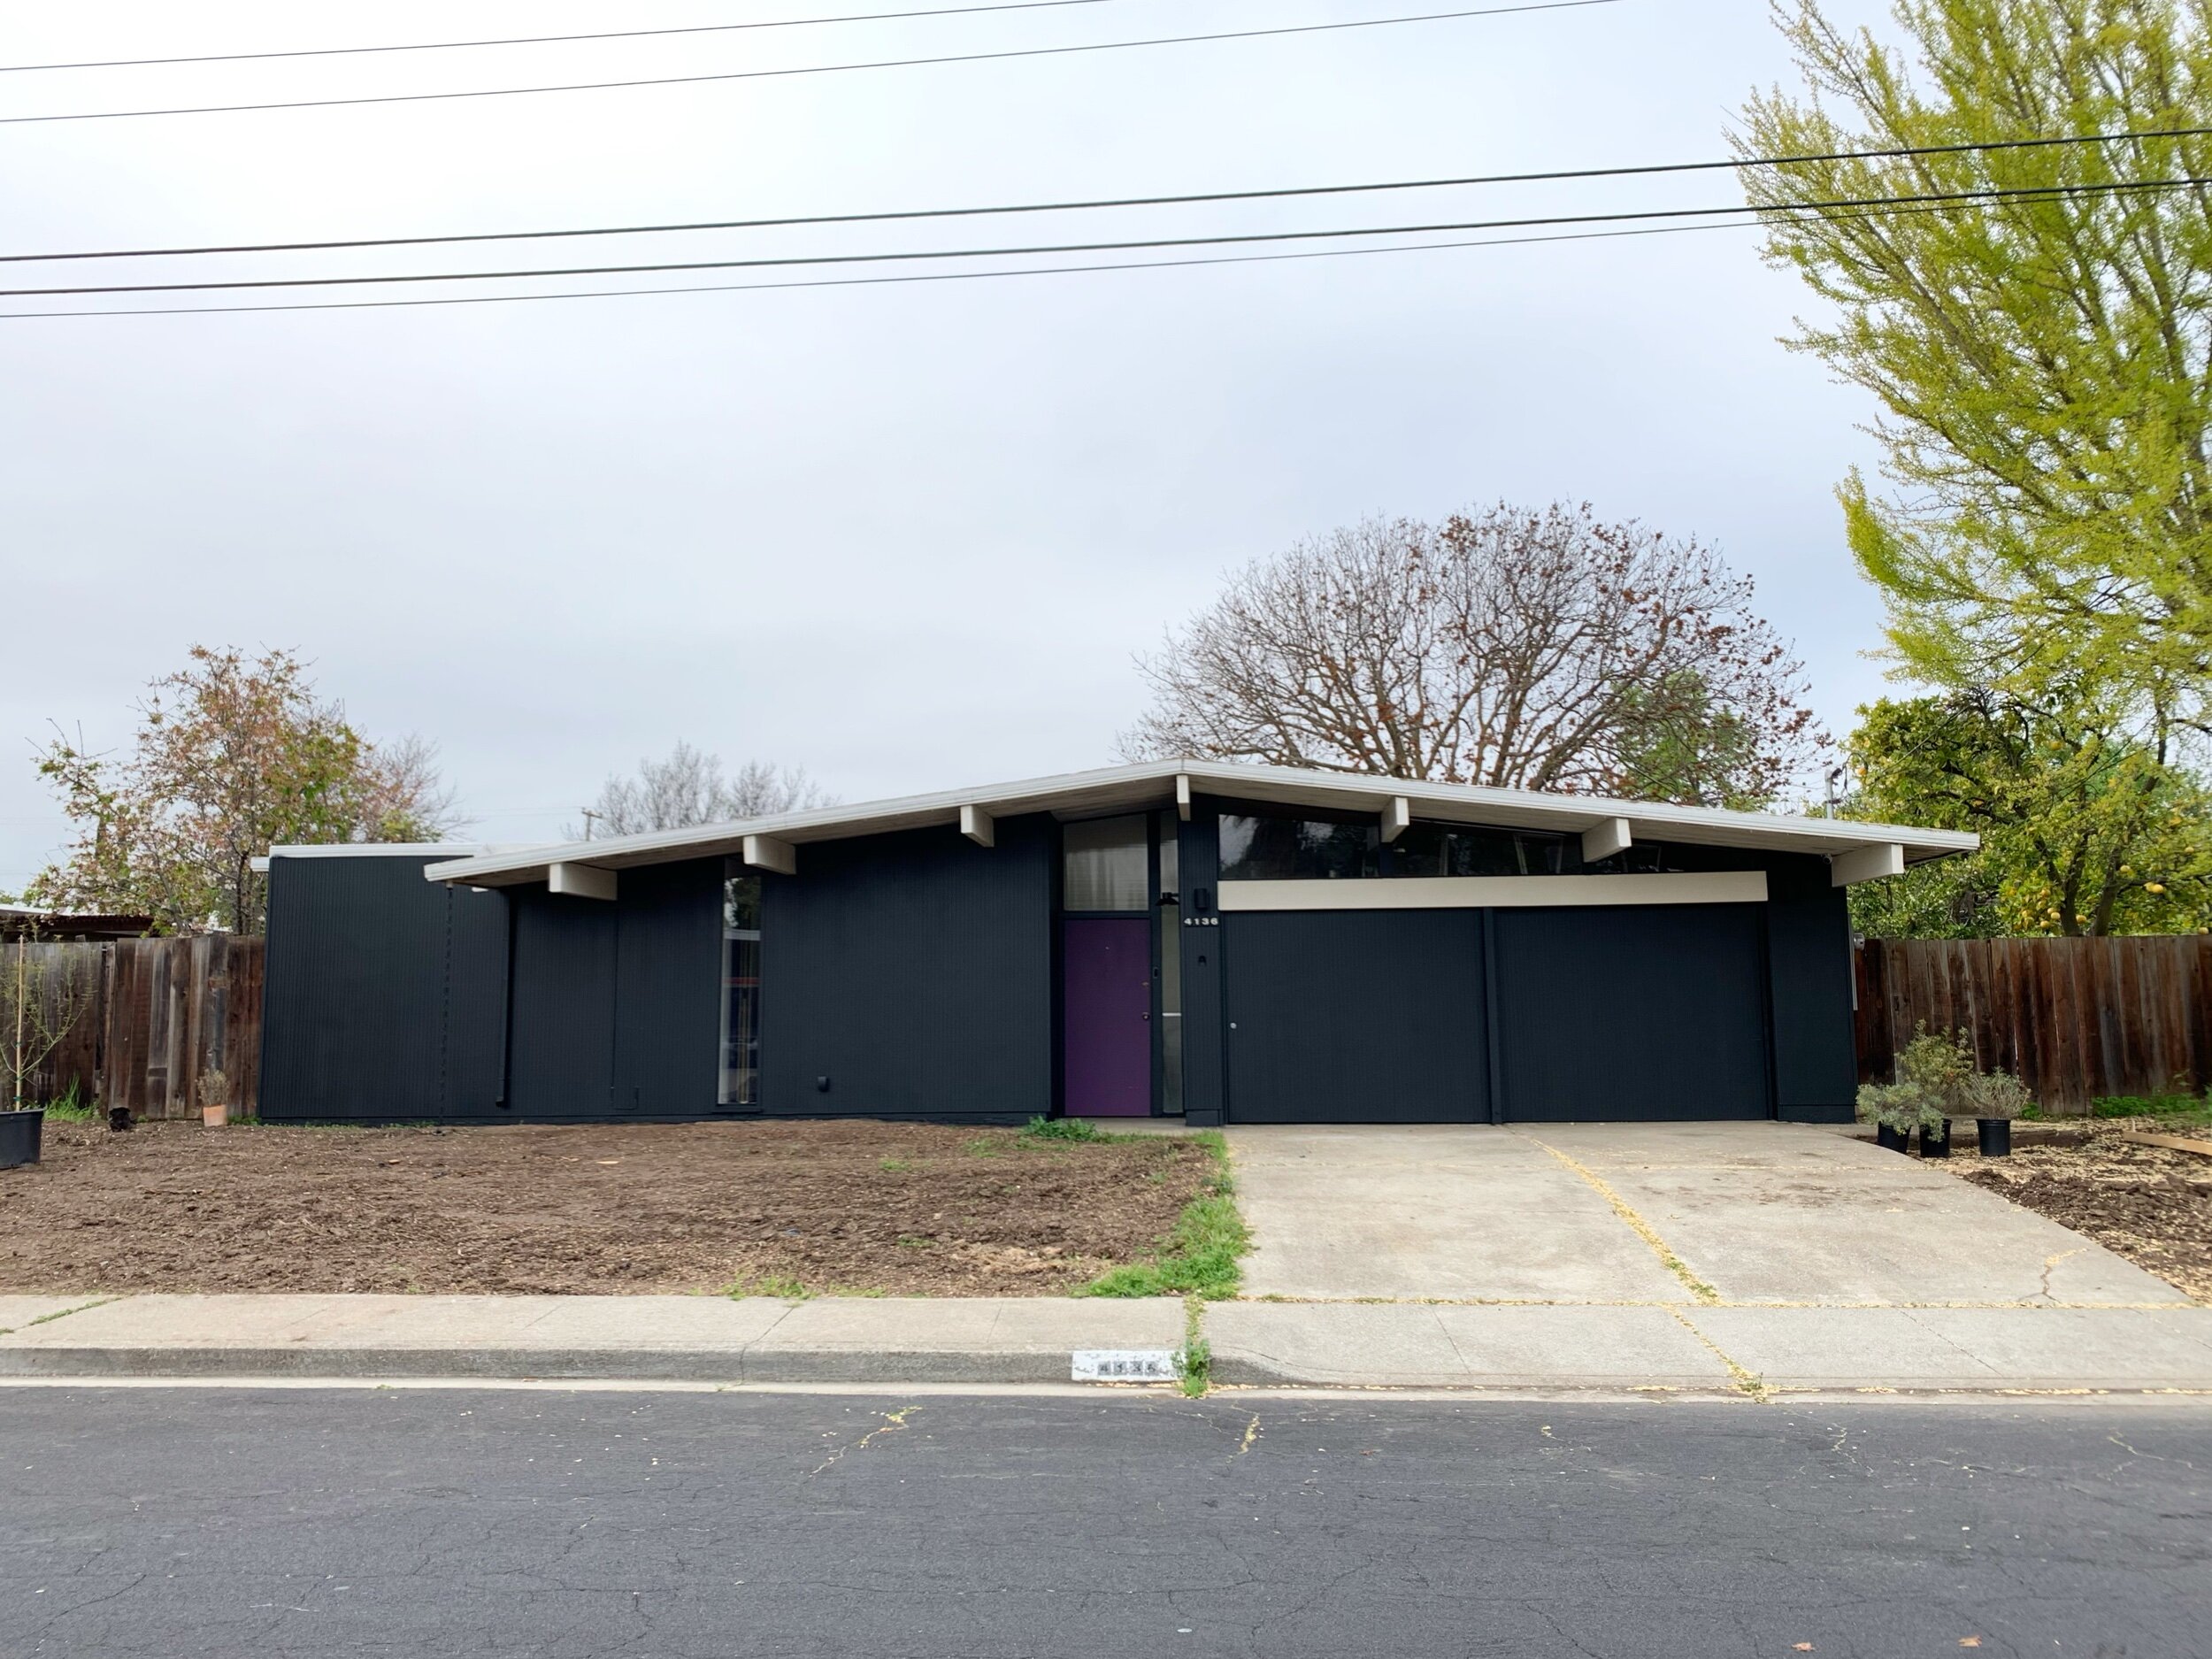
We waited a couple months and work started to pick up again and the projects slowed down and the cumulation of half-finished stuff started to get to me, so a couple weekends ago I painted the horizontal beam over the garage black to scratch the itch and love how intense the shape of the house looks. Unfortunately, the itch was not satisfied and we decided to just finish it already. There was a bit of dry rot repair, some sanding and of course, the paint gun failed again and of course a million puppy / toddler interruptions happened so we took our weekend warrior status to a new level: weeknight warrior.
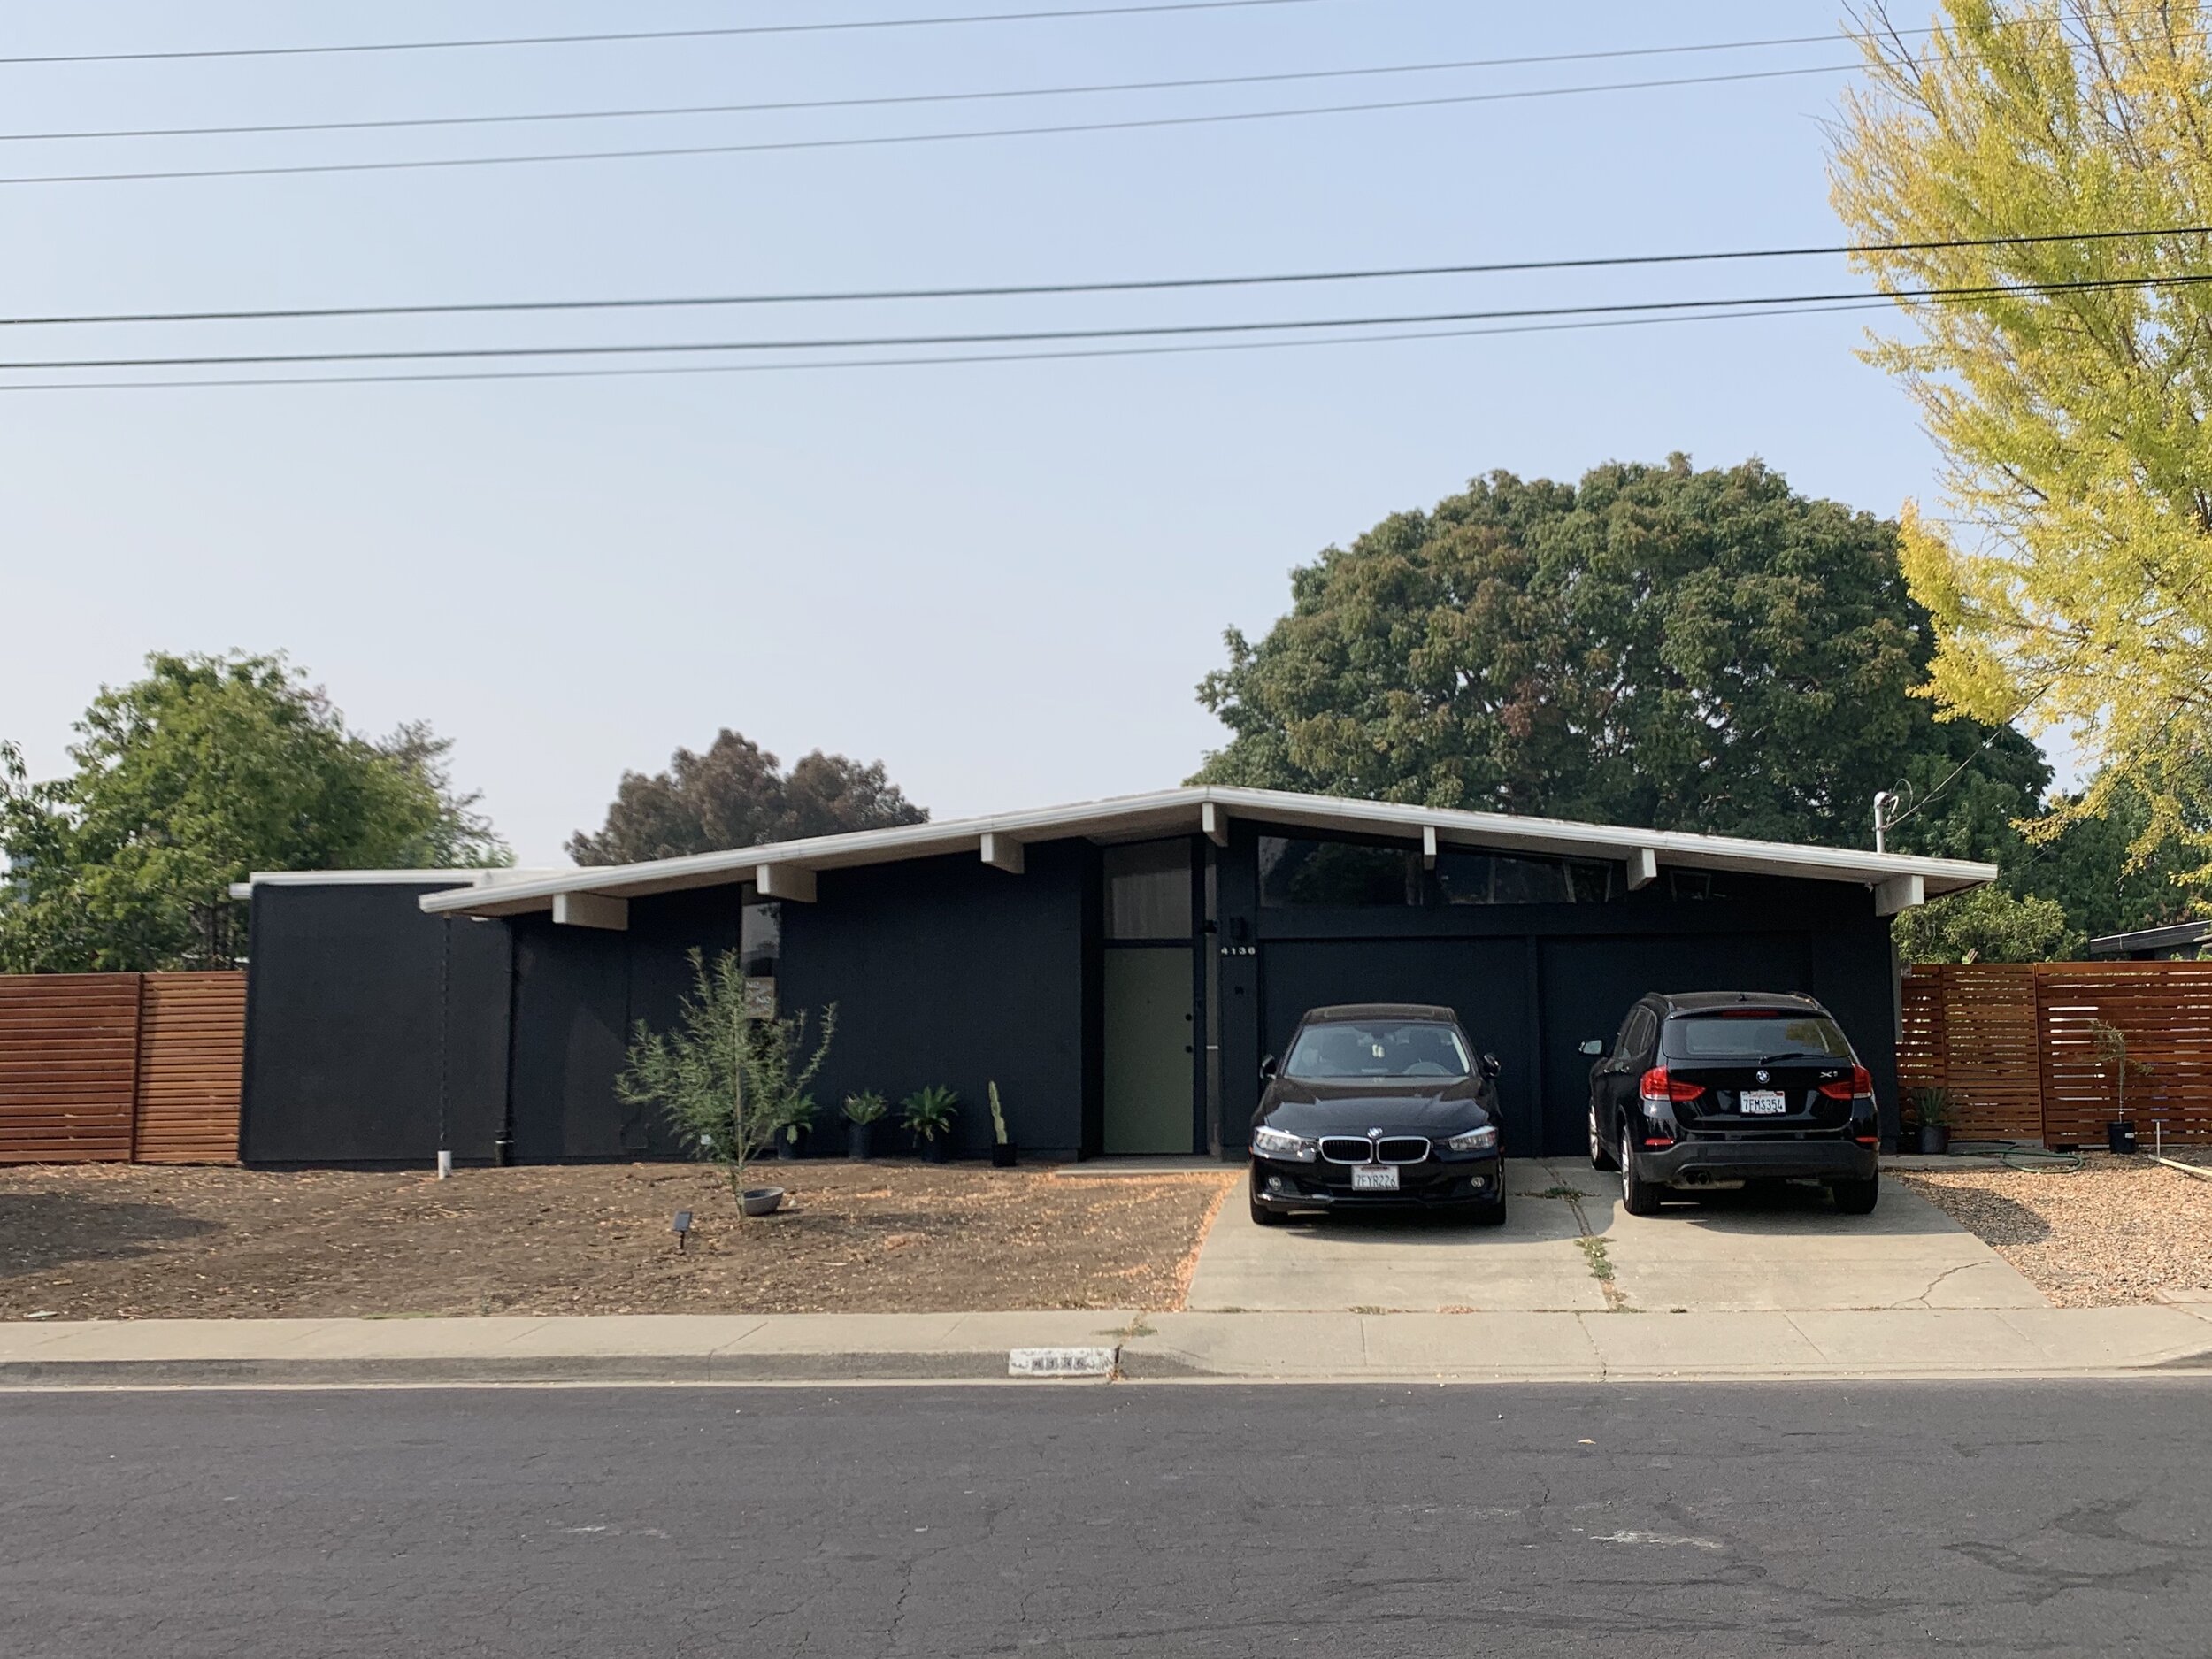
Before the new fence, but right when the look was beginning to come together.
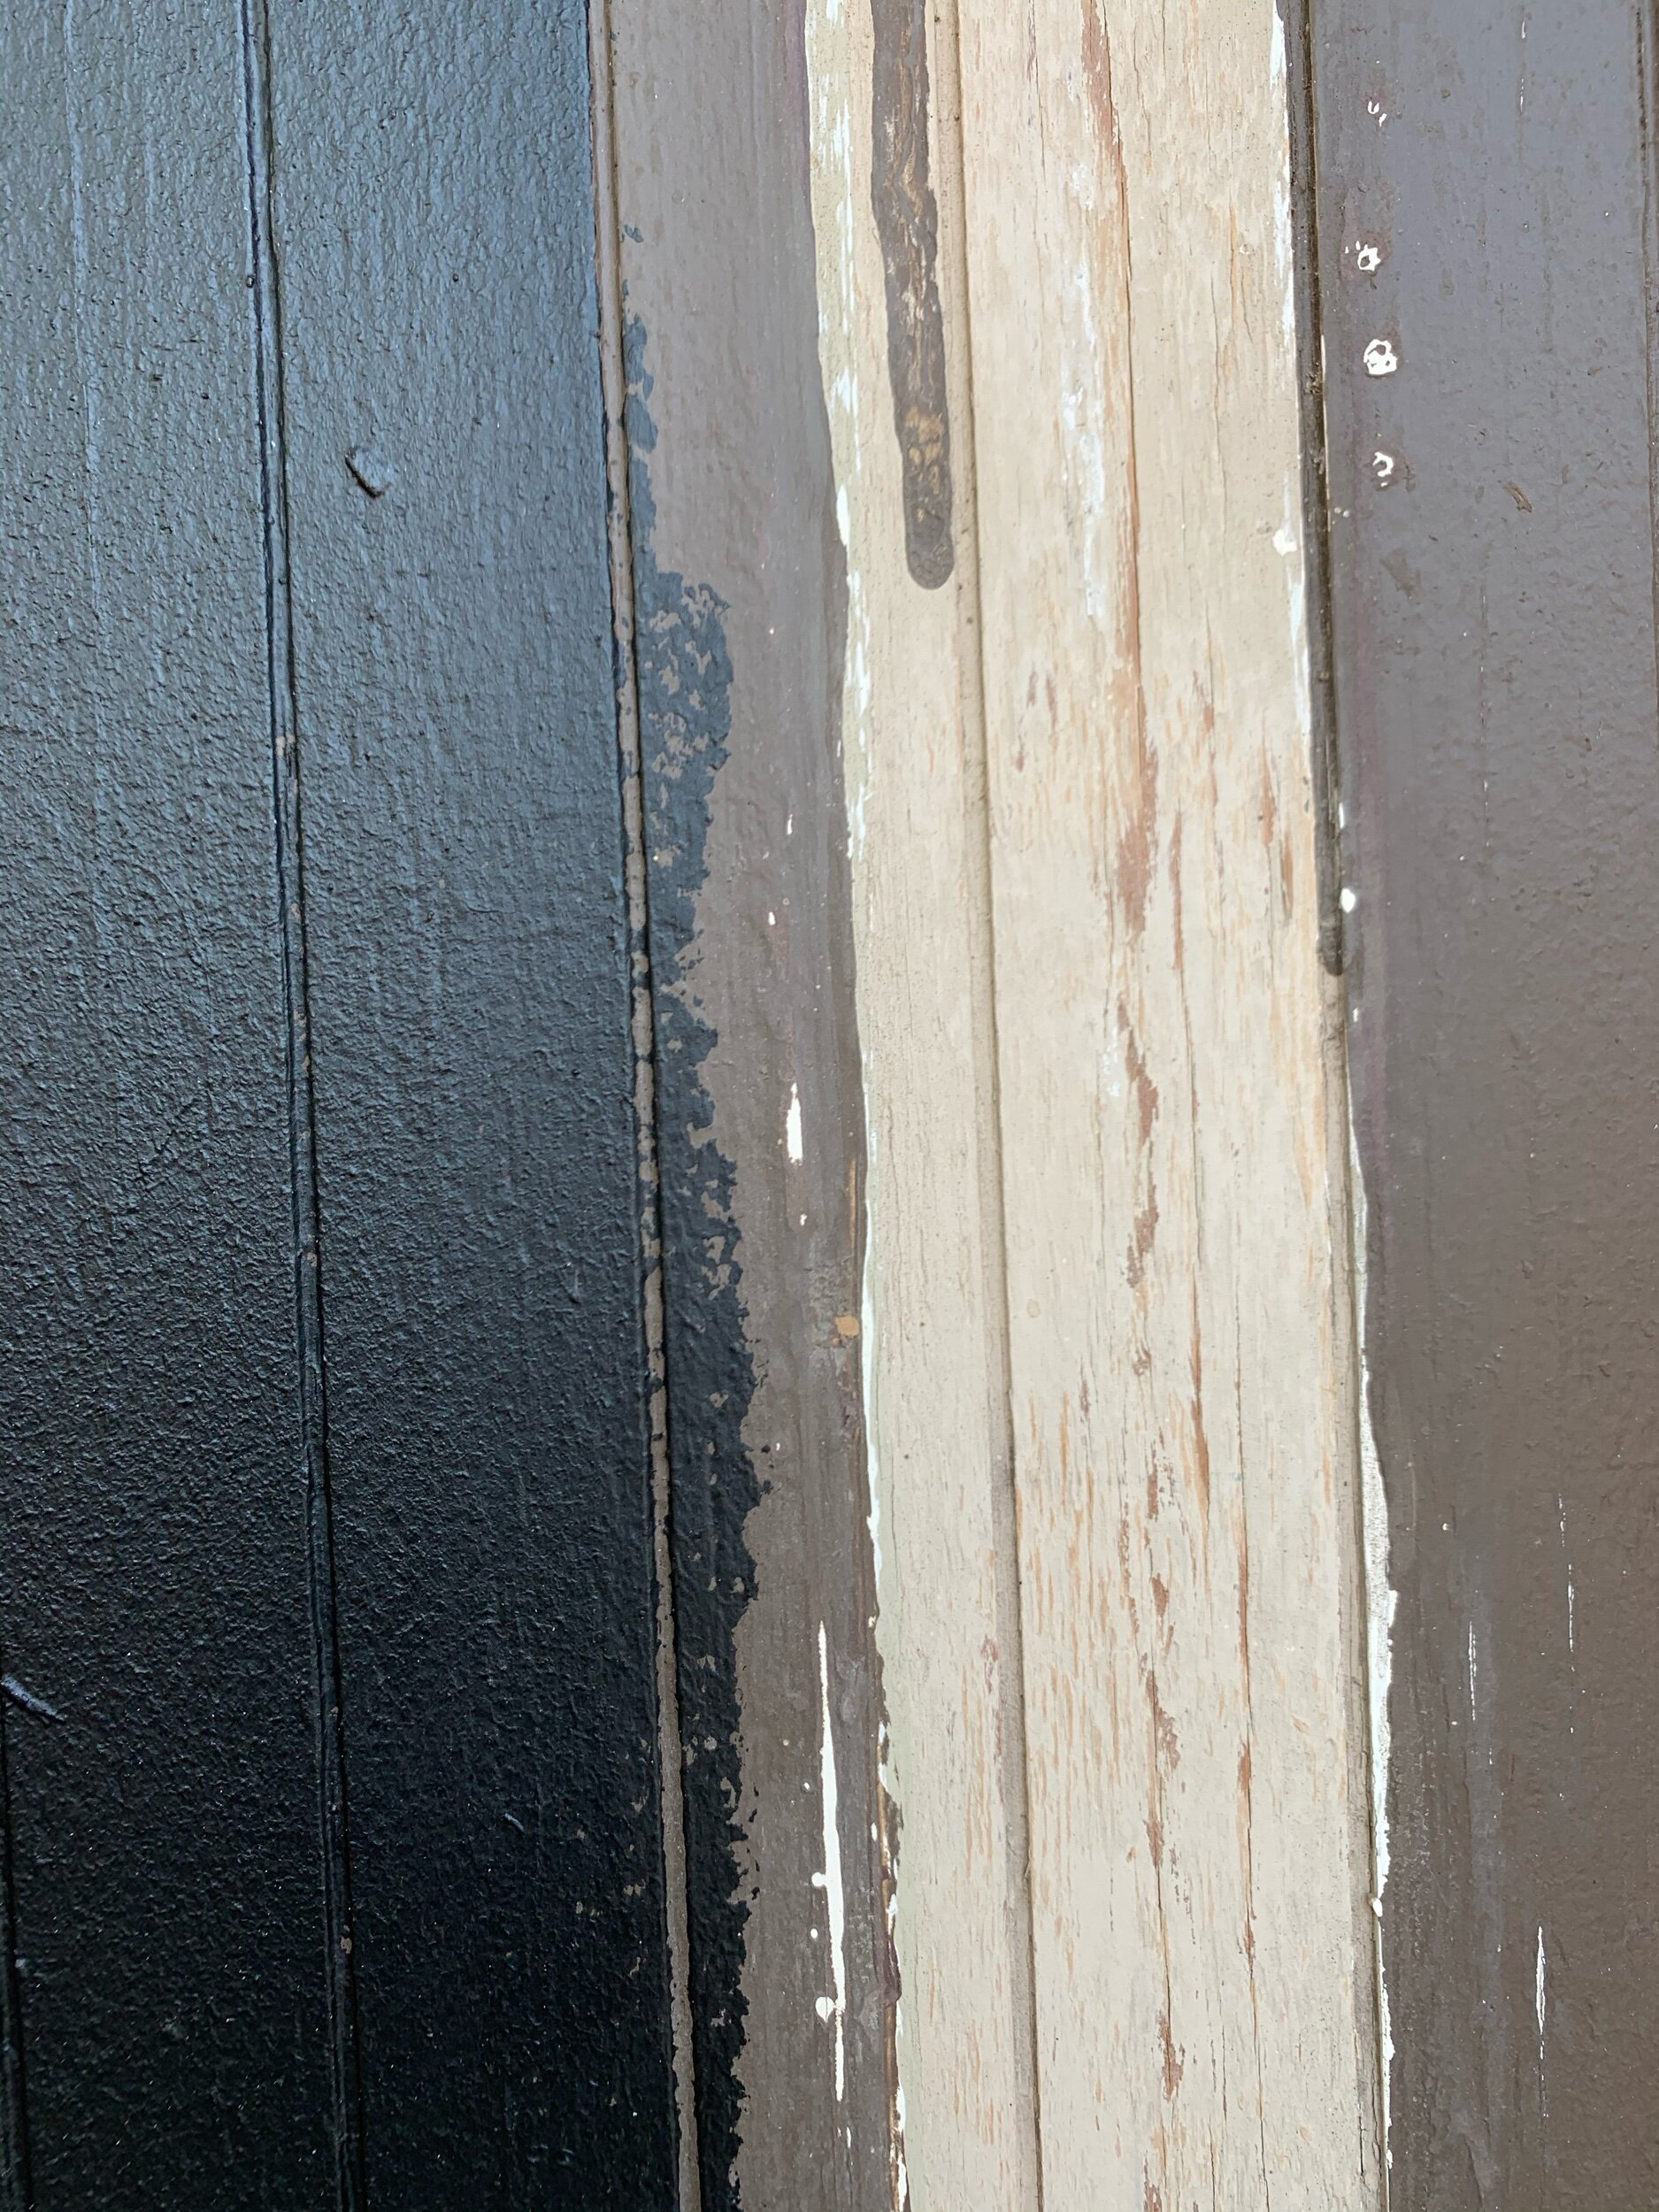
We gave up on the paint gun and went full-brush and roller and are so so so so close to being done! Since projects never really end, we hope to paint the top trim black when we re-roof…we would love to do a Tesla roof you know, for the environment and also because a black roof on a black house would offer THE MOST moody vibes and I’m here👏 for👏 it👏. I couldn’t handle the Beetlejuice color palette with the purple door anymore and we went with a soft green for the front door. One day we think it will pair beautifully with the plants we have planned for the front landscaping, but until then it really makes the weeds pop! We decided to keep the original beam color, but did find a very similar color by Valspar that we use for touch-ups.
Cost Breakdown and was it worth the diy?
Cost:
Paint–– Three 5-gallon buckets of Benjamin Moore Black Satin: ~$900 (~$300/piece), 1-gallon of Behr Ecological Flat Exterior Paint: $34
Paint Sprayer–– $209
Misc. Paint supplies–– ~$200
Total: ~ $1343
This cost breakdown is for painting alone and doesn’t include any hardware or lighting/accessories
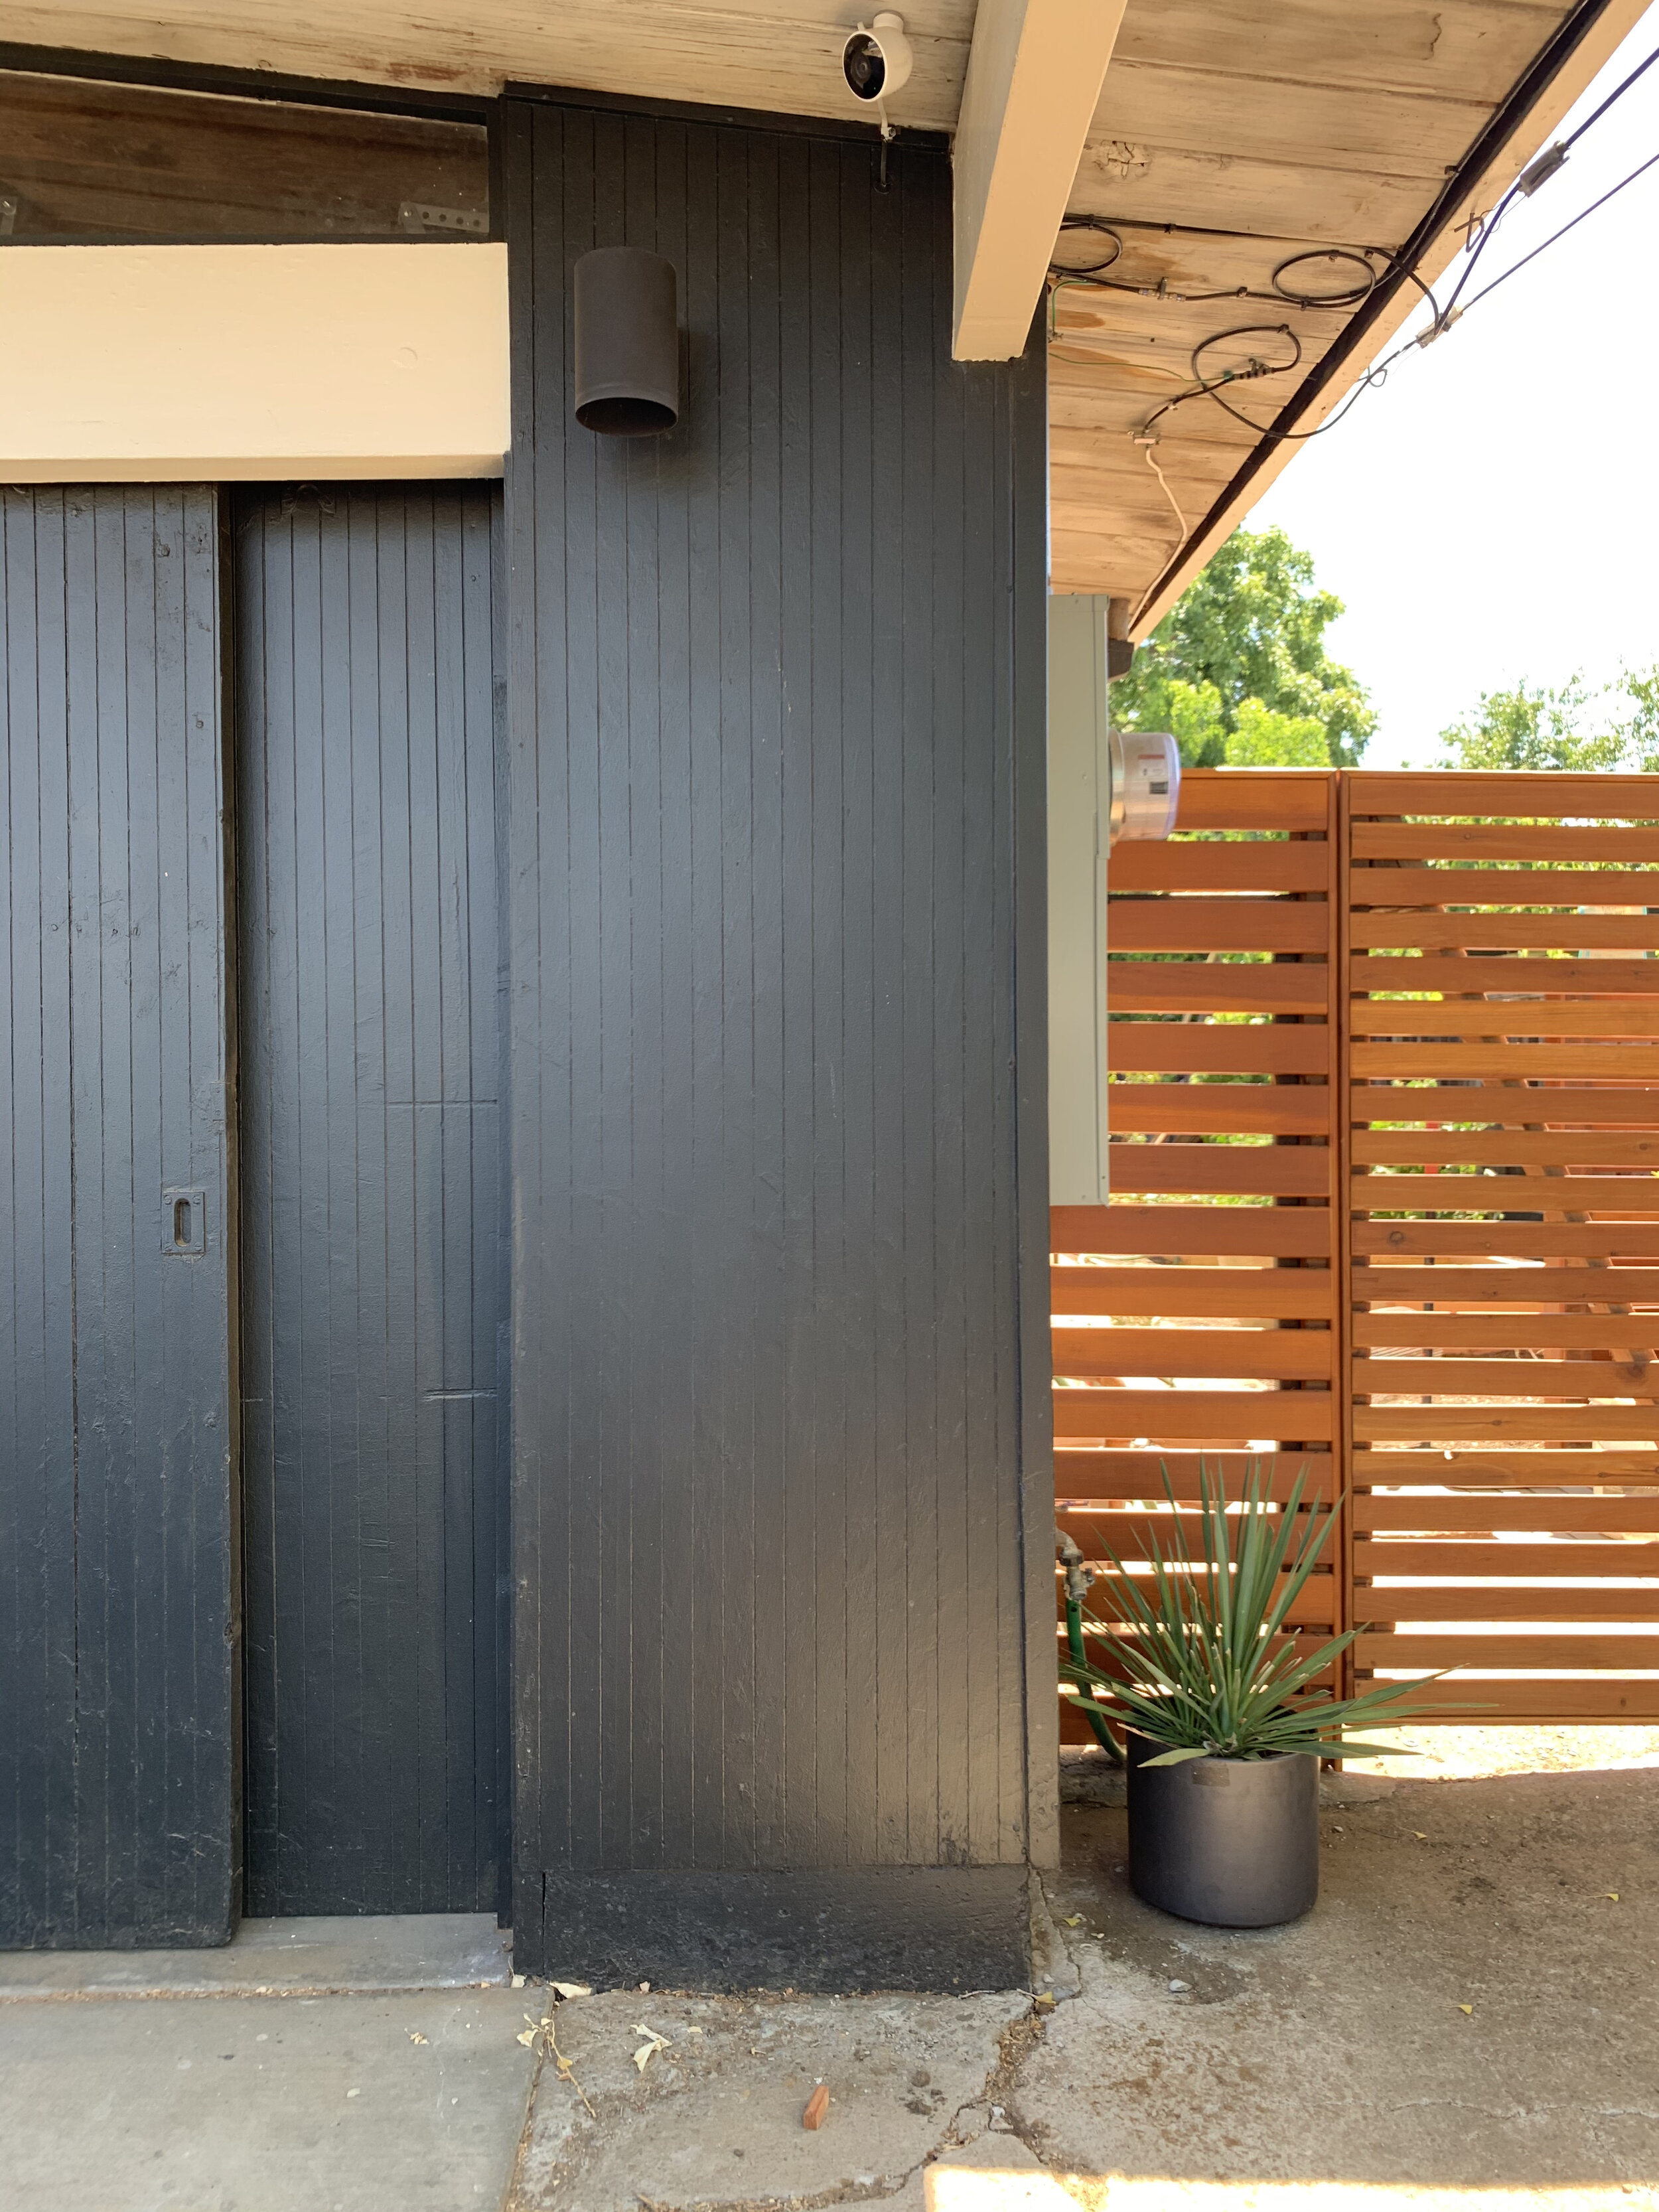
the fresh paint looks so good! Just ignore the mess in 30% of the photo!
Was it worth it?
This project was a long and tedious one, but was also one of the easier projects we’ve tackled. Because Paul replaced the siding and windows and we repaired as we went along, doing the painting ourselves made the most sense. In our area the cost to paint the exterior of a house this size averages at about $5,000, so although we paid with an ugly facade and a lot of our patience, it was totally worth it and so satisfying to do it ourselves!
Wooooooooooooo!
Checking a two-year project off the list calls for a celebration!


